Landscape Photography

Landscape photography is a very broad field of photography that can take years to truly master. The key to a strong landscape photo is framing your subject (which can be the entire city, valley, etc.), then complementing it with other aspects such as vibrant colors or smooth water.

In many cases, it is very helpful to use a tripod when taking the shot, as it will allow for a steadier camera which will lead to a sharper shot. In the connected image (above), I decided to use a slow shutter speed in order to properly expose the image. Another way to ensure proper exposure at night is to lower your aperture or raise your ISO, which might sacrifice sharpness or create noise in the image.

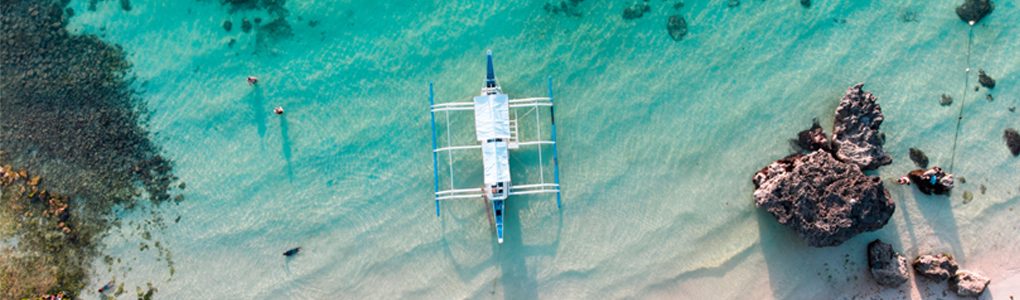
One interesting concept that can be very helpful in all aspects of photography is color theory. This idea explains how to use different colors in the foreground and background of the photo to create separation. This article on Medium.com explains this concept well, and I would recommend taking a look through it to apply some of the ideas in your own work.

  1. Ben's avatar

This blog is used to share information about Photography, photographs, and any tips and suggestions I may have.

Street Photography: Framing

One of the most important aspects of street photography is framing. This refers to the placement of your subject within the image. Poor framing can lead to a distracting image where the subject isn’t clear. However, the use of strong framing can lead the viewers’ eyes right to your subject and create a very compelling image.

In the connected image (above), I noticed a man looking through the window of the cafe, but needed to find a good way to frame him. Looking for leading lines, I decided to place the man at the end of the stair’s handrail. Furthermore, I decided to change the image to black and white, a common technique when the colors in the image distract from the subject. This image is just one example of how important framing is to create a powerful image.

A very interesting series I personally find very helpful to see the perspectives of other photographers is called Through The Lens. I would strongly recommend looking through this series on YouTube.

Long Exposure Photography

Long exposure photography is essentially manually adjusting the shutter speed to remain open for longer than normal times. It is most commonly used to smooth out water, shoot photos of crowded places without the people appearing in the image, catching light trails, but it really can be used for anything the photographer wants.

In the connected image (above), the following settings were used: ISO 50, f/20, SS 1.3sec. In some cases, especially when it’s darker outside, you have to make minimal changes to your camera settings when bringing the shutter speed down to slower times. However, when you’re shooting in daylight, you have to make some changes, especially if you’re not using an ND filter. In this case, I decided to keep the ISO as low as my camera would allow, and I chose an aperture that would decrease the light on the camera’s sensory as much as needed. Luckily, in this photo as I pressed the shutter hoping to catch a taxi driving through the frame, a large, colorful bus came riding through, leaving behind the light streaks you can see in the foreground of the image. 

You can use either a DSLR or a mirrorless camera to take a long exposure photo, and you can even use your iPhone (but that tutorial is for another time)! To capture long exposure photos, here are the steps you can take on your camera. 

  1. Turn on your DSLR or mirrorless camera
  2. Change the shooting mode to Manual (M)
  3. Assuming daylight or evening conditions, lower your ISO as low as your camera will allow (commonly 50 or 100)
  4. Set your shutter speed to match the shot you would like (the slower the shutter speed the smoother the moving object will appear)
  5. If you’re using a DSLR, it may help to enter Live View to see how your changes are affecting the image in real time
  6. Raise your aperture until the image is properly exposed (you should see an “M.M.” symbol on the screen, if it is followed by a positive number that means the photo is overexposed, if it is followed with a negative number the photo is underexposed, and if it’s followed by a ±0 it’s properly exposed)
  7. Ensure the image is focused on your subject
  8. Take the shot!

  1. Ben's avatar