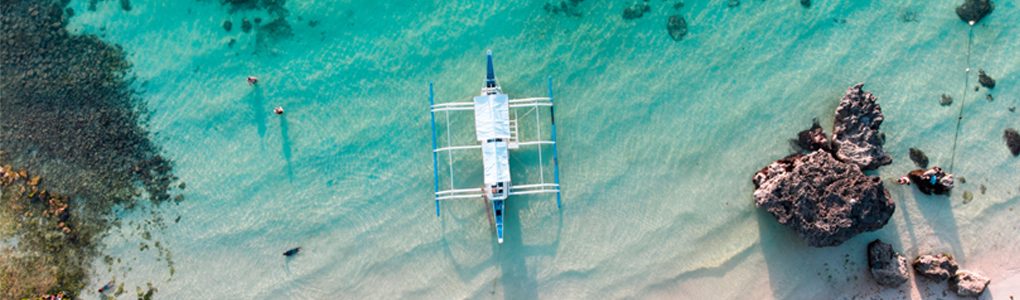

Long exposure photography is essentially manually adjusting the shutter speed to remain open for longer than normal times. It is most commonly used to smooth out water, shoot photos of crowded places without the people appearing in the image, catching light trails, but it really can be used for anything the photographer wants.
In the connected image (above), the following settings were used: ISO 50, f/20, SS 1.3sec. In some cases, especially when it’s darker outside, you have to make minimal changes to your camera settings when bringing the shutter speed down to slower times. However, when you’re shooting in daylight, you have to make some changes, especially if you’re not using an ND filter. In this case, I decided to keep the ISO as low as my camera would allow, and I chose an aperture that would decrease the light on the camera’s sensory as much as needed. Luckily, in this photo as I pressed the shutter hoping to catch a taxi driving through the frame, a large, colorful bus came riding through, leaving behind the light streaks you can see in the foreground of the image.
You can use either a DSLR or a mirrorless camera to take a long exposure photo, and you can even use your iPhone (but that tutorial is for another time)! To capture long exposure photos, here are the steps you can take on your camera.
- Turn on your DSLR or mirrorless camera
- Change the shooting mode to Manual (M)
- Assuming daylight or evening conditions, lower your ISO as low as your camera will allow (commonly 50 or 100)
- Set your shutter speed to match the shot you would like (the slower the shutter speed the smoother the moving object will appear)
- If you’re using a DSLR, it may help to enter Live View to see how your changes are affecting the image in real time
- Raise your aperture until the image is properly exposed (you should see an “M.M.” symbol on the screen, if it is followed by a positive number that means the photo is overexposed, if it is followed with a negative number the photo is underexposed, and if it’s followed by a ±0 it’s properly exposed)
- Ensure the image is focused on your subject
- Take the shot!

Very insightful content! Amazing pictures.